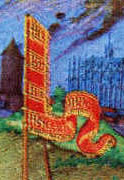
I decided to make a banner for my friend, Sir Robert de Rath. I started out looking for 14th to 15th century examples of banners of personal arms, and immediately stumbled across this page on Standards and Pinsils and Pennons, Oh My! by Donna Hrynkiw. I also took a closer look at the Les Très Riches Heures du Duc de Berry, a famous 15th cent manuscript by the Limbourg Brothers. As Donna shows in the January folio from the book of hours, you can see square banners displayed. By looking at some of the other folios, I found two images of a banner displayed by the Magi that showed a top support bar to keep the shape of the banner. These were from folios 51 and 52. They also show what appears to be loops to slide the banner support poles through, instead of a sleeve.

Detail from the month of January from the Duc de Berry Hours


Details of folios 51 and 52
Construction:
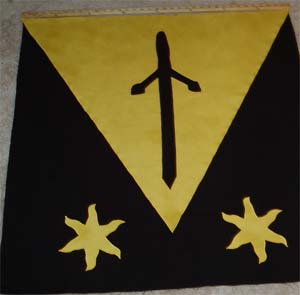
While painted or appliqued silk would have been the more period option, I chose to use trigger for it's colorfastness and ease of procurement. First I guessed 36" square would seem in scale with the ones I found in illuminations. The blazon for his arms are: Sable, on a pile Or ermined gules, between two estoiles Or, a sword inverted sable. I first cut out the squares for each side in black and then the gold piles (triangles) to go on each one. Next I made templates for the estoiles and swords and cut those out. Using spray adhesive, I put the two main layers together and machine appliqued the edges of the gold pile. I used the same spray adhesive to adhere the charges to the banner sides and appliqued them on as well.
Here is a picture taken before any applique has occurred:

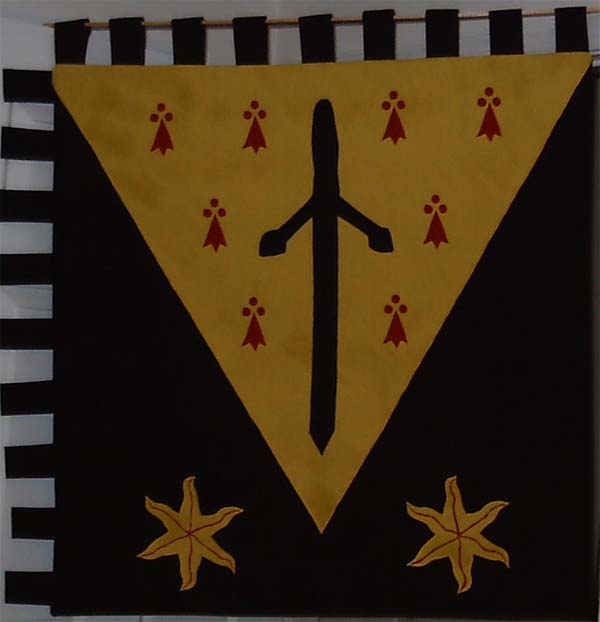
Once all of the main elements were in place, I had to tackle the red ermine spots and the detail lines on the estoiles. I flirted with the idea of using applique on those as well, but a saner mind prevailed and I settled on paint. After making a cardboard template of the ermine spots, I set to layout and painting each side with red acrylic paint. Finally after heat setting the paint with an iron, I made the loops for the top and side edges and and assembled the banner sides and loops. Instead of fewer larger loops, I chose to make 9 smaller loops for each side, based again on the scale I could guess from the miniatures. I considered making the loops of the gold fabric, but figured that black loops would stand up better to wear and tear and dirt from war.
Here is the final banner:

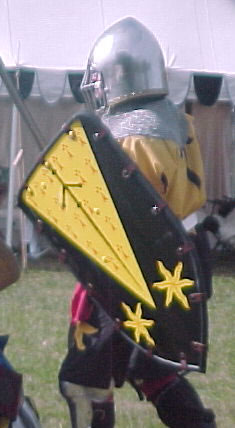
And here is Sir Robert himself showing his shield with his arms on it:
